A few days ago I had a big craving for Lemon Cookies. But, let’s face it, I am 6 weeks away from welcoming a baby girl and am way too tired to get ambitious in the kitchen. Also, there’s no way I am going to buy them from the store. The shame! So I got creative instead 🙂
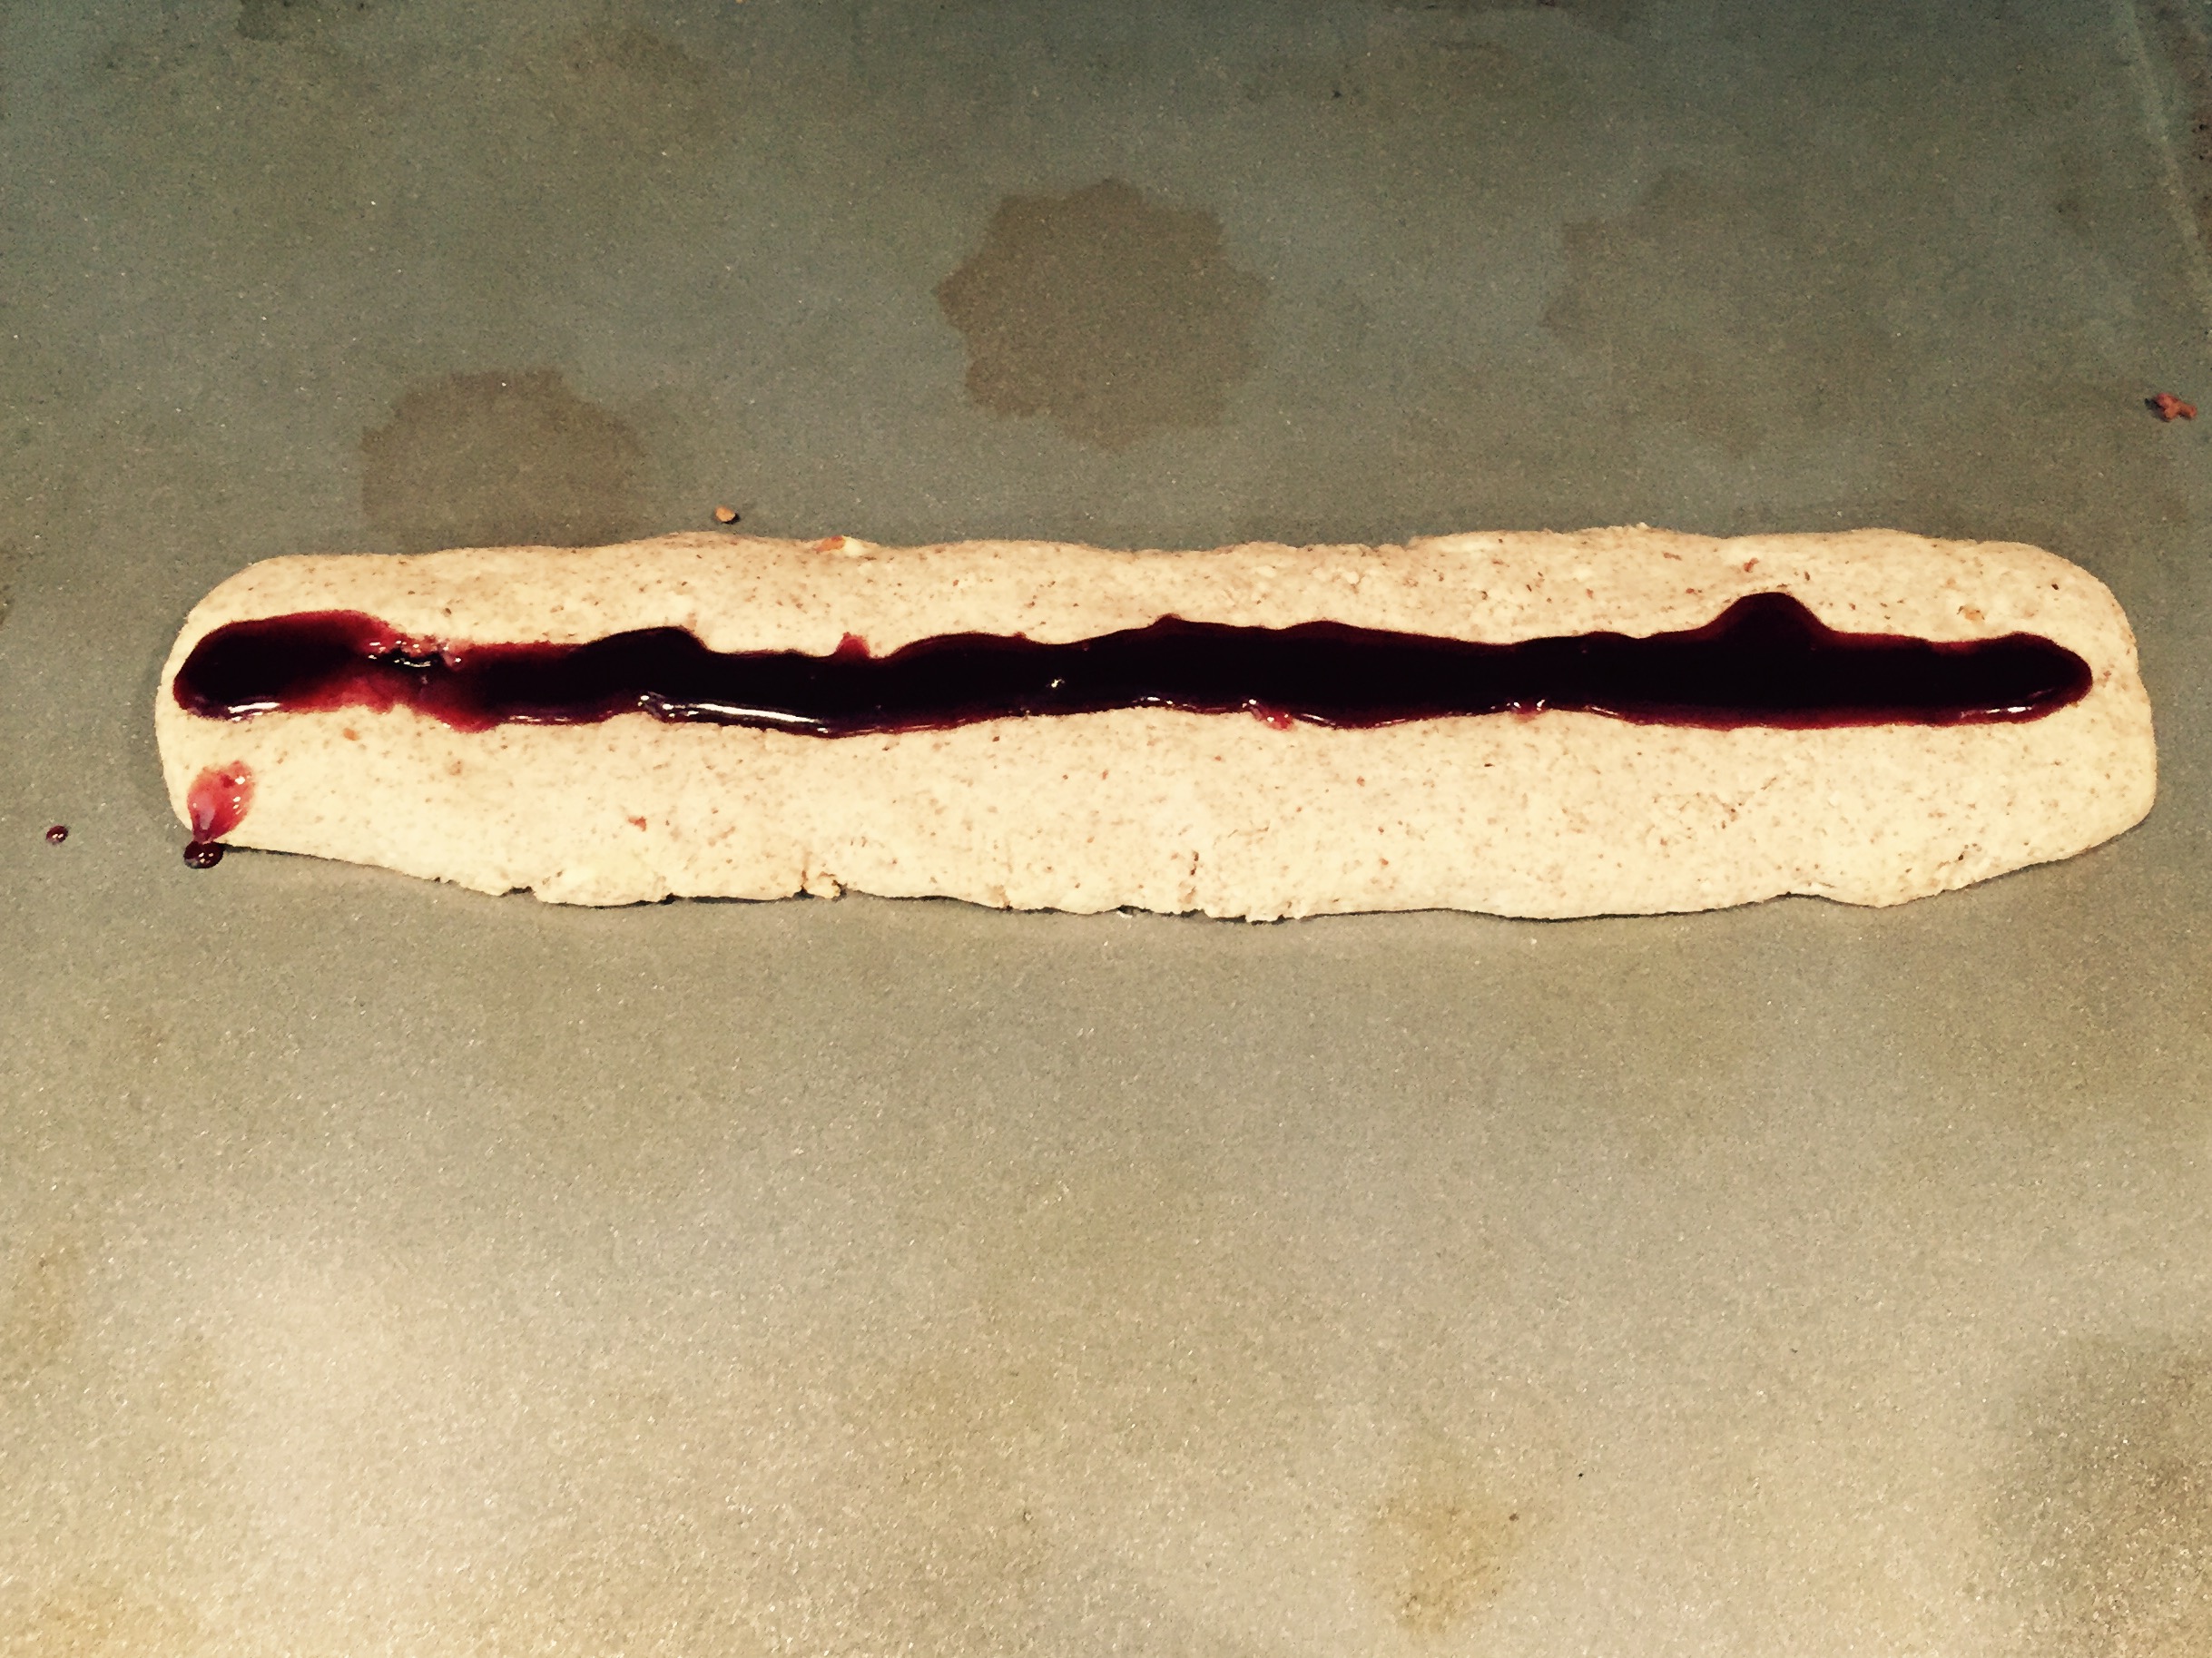
I decided to take a recipe I have known about and tweak it a little bit. The fruit juices and zest in this recipe can be subbed out for a number of different things. So even if you don’t like lemon, you can make this your own.
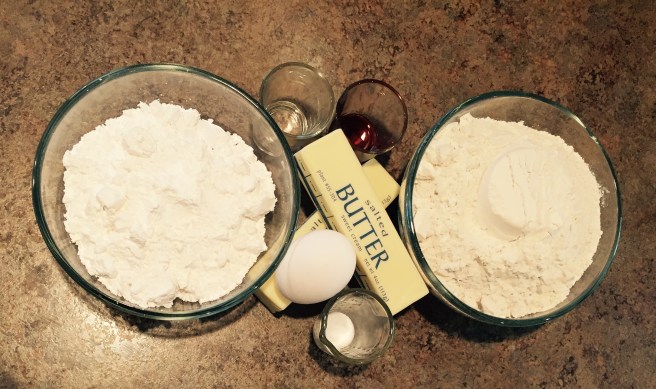
Here’s What You Will Need:
COOKIES:
1 Box White Cake Mix
½ Cup Sour Cream (I used low fat to make myself feel better about eating all of the cookies)
1 Egg
¼ Tsp Vanilla
3 TBSP Fresh Lemon Juice (Here’s where I “felt” ambitious)
Zest of 1 Lemon (Save a pinch for later use)
FROSTING:
1 1/3 Cup Powdered Sugar
1/4 Cup Butter- Softened
1 TBSP Lemon Juice
½ TBSP Milk
Pinch of Lemon Zest
Now What Do You Do?
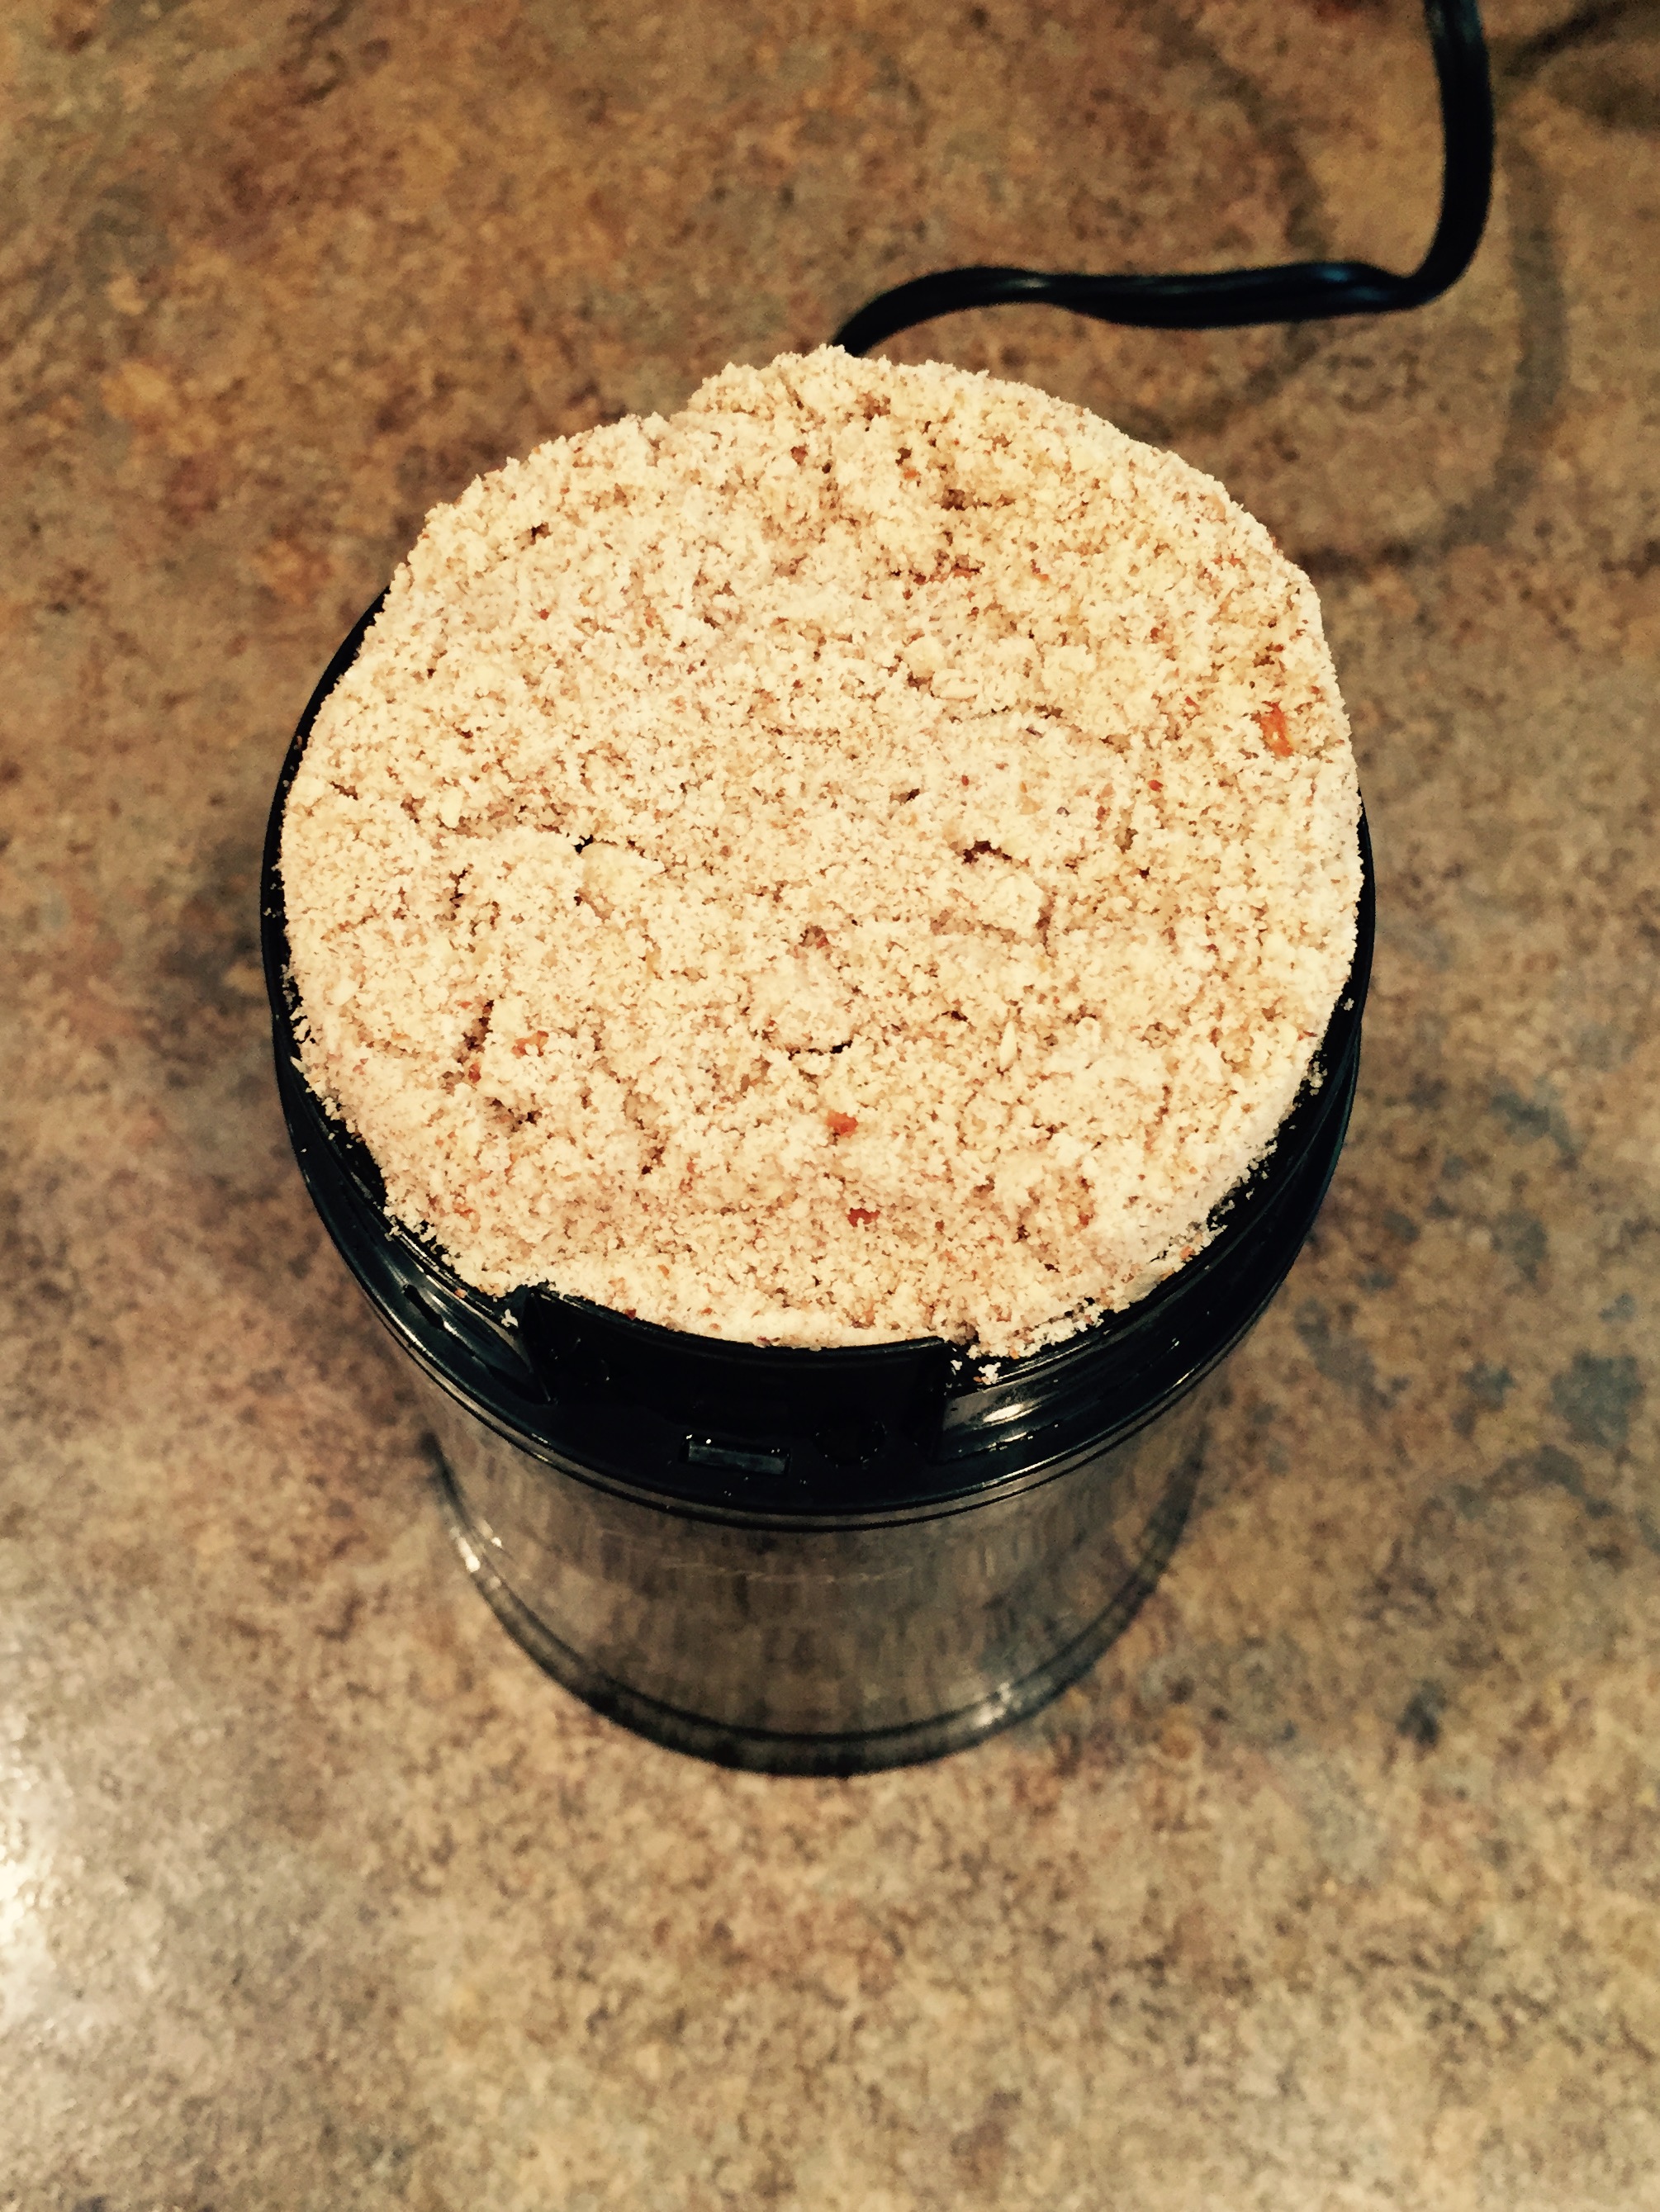
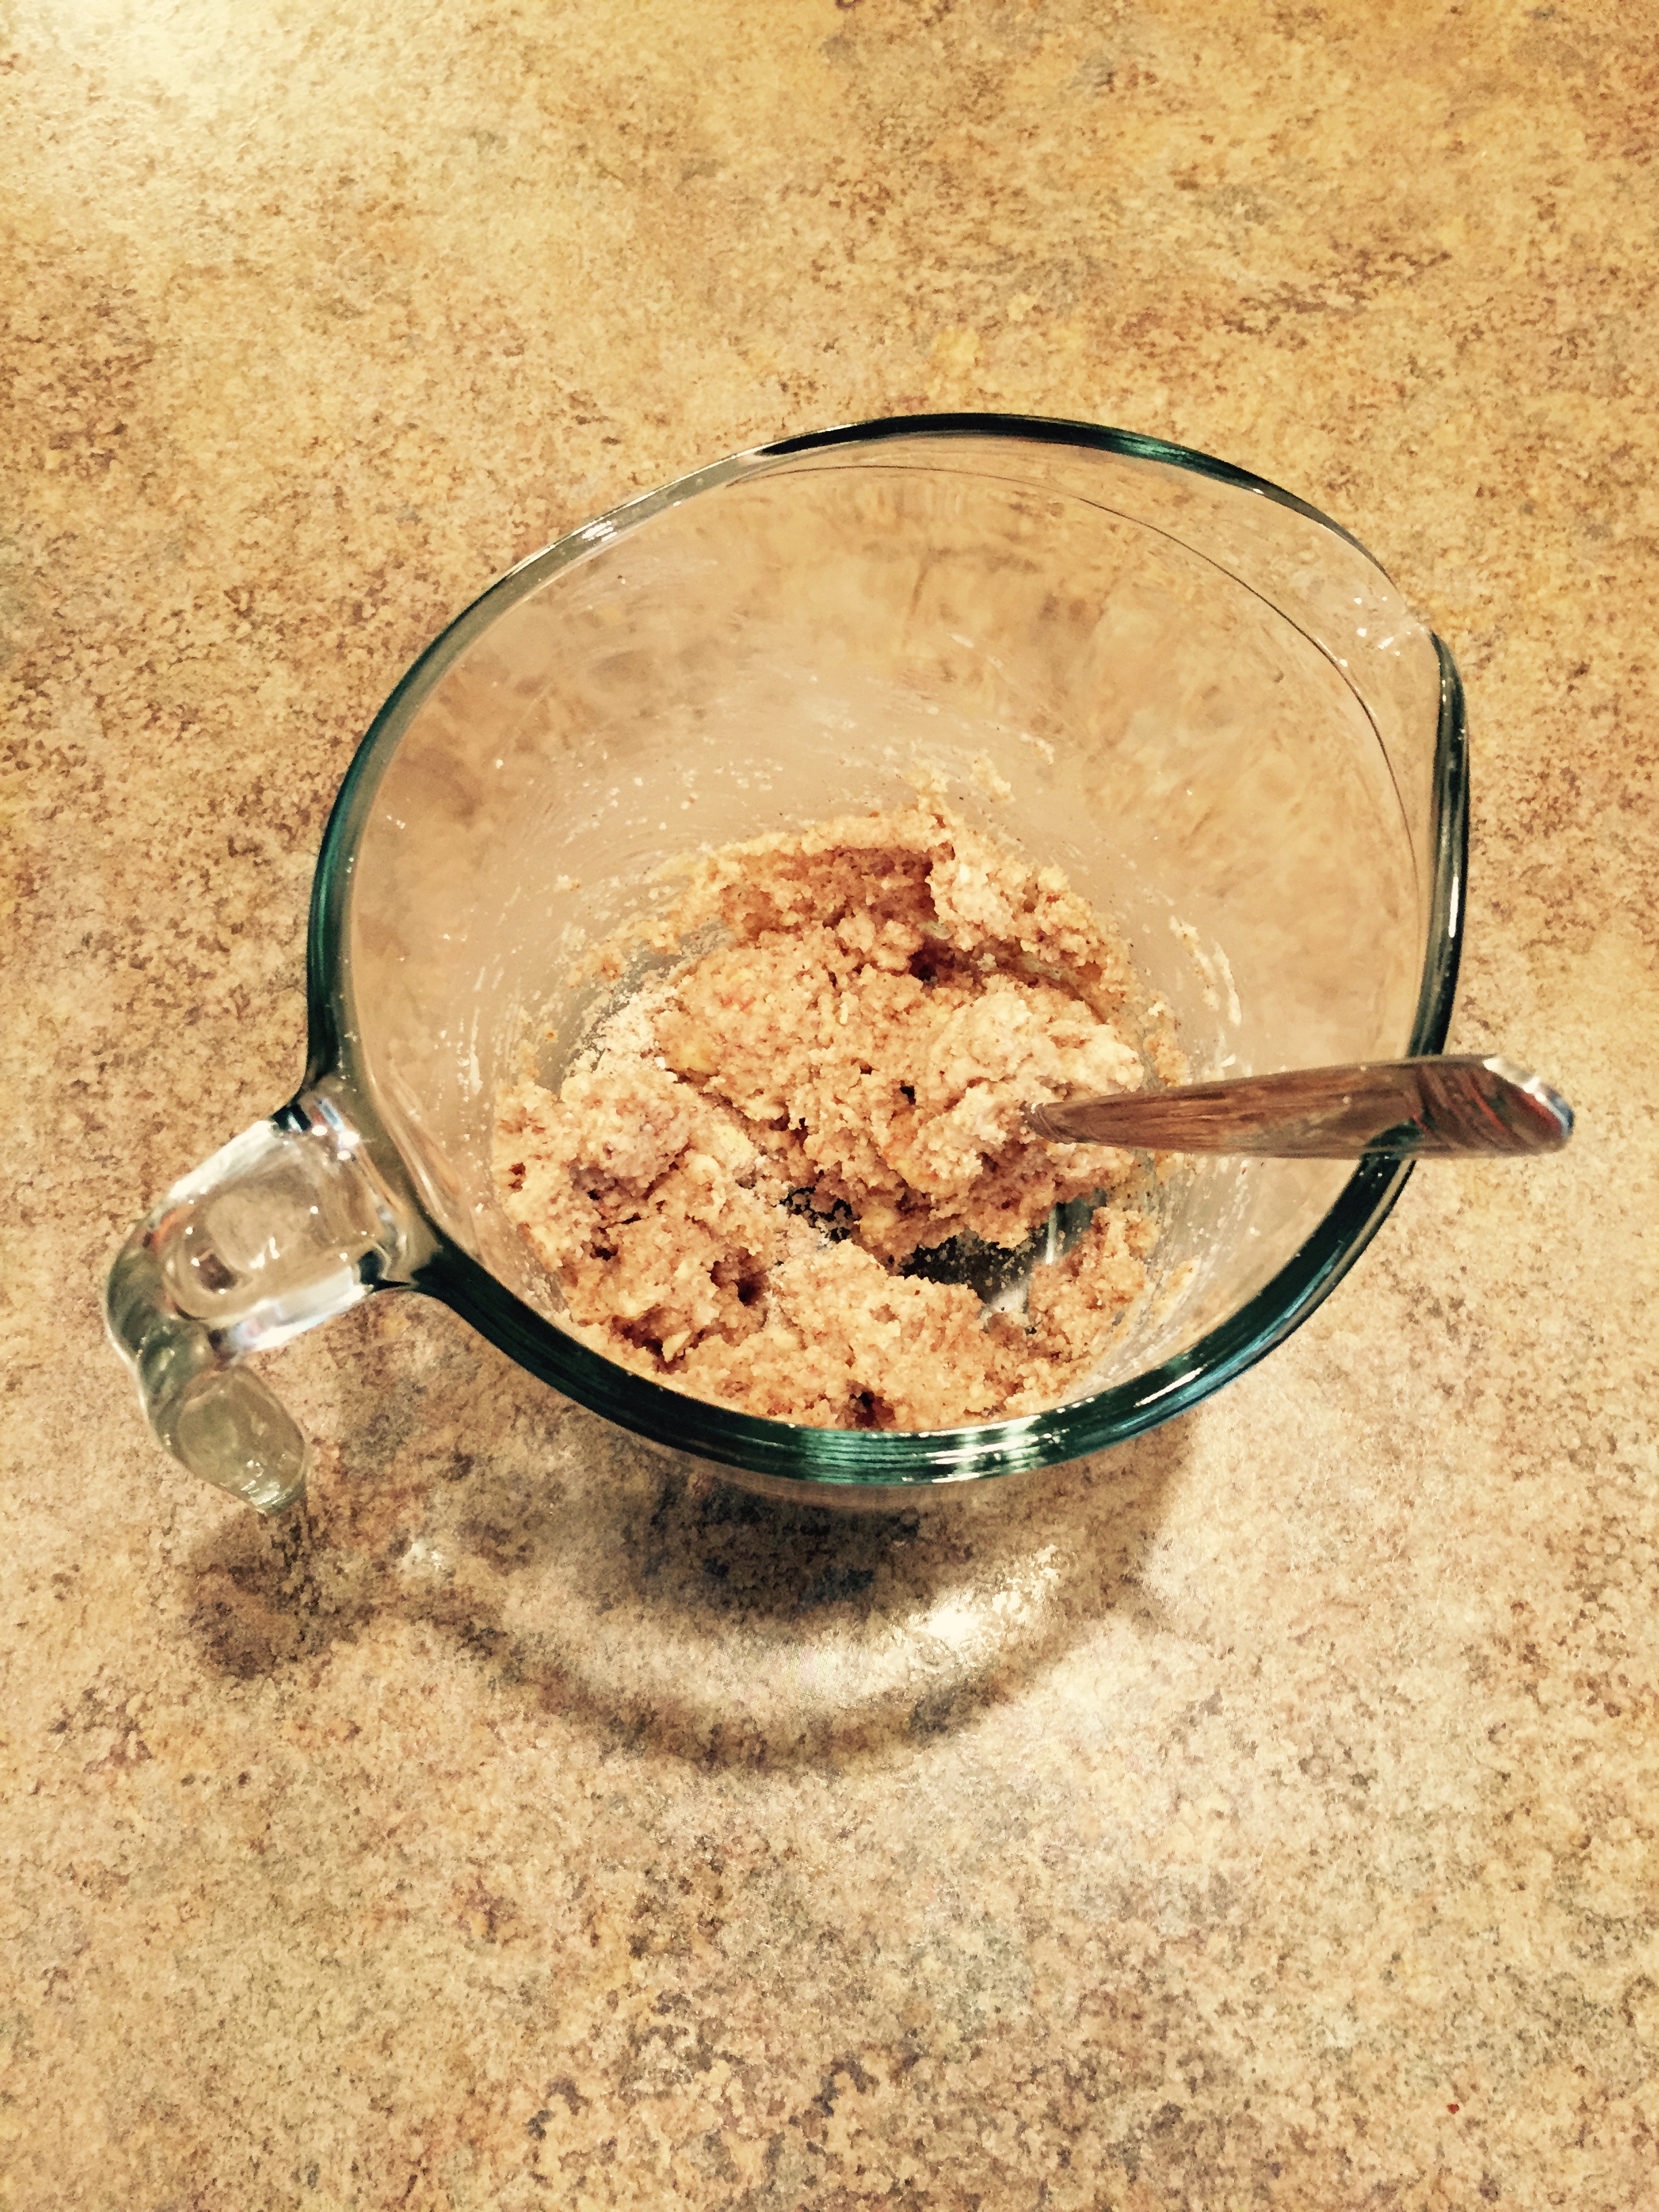
- Throw all of the cookie ingredients into a bowl (Yes, all of them!)

- Mix until just combined

- Place TBSP amounts onto a greased/ nonstick cookie sheet, or use parchment paper!

- Bake at 350 for 8-10 minutes or until tops are just browning
- Cool on a wire rack
- Now throw all of the frosting ingredients together and mix well. Add more milk for powdered sugar for desired consistency.

- Once cookies are cooled… GLOB ON AS MUCH FROSTING AS YOU WANT! 🙂
- Enjoy!

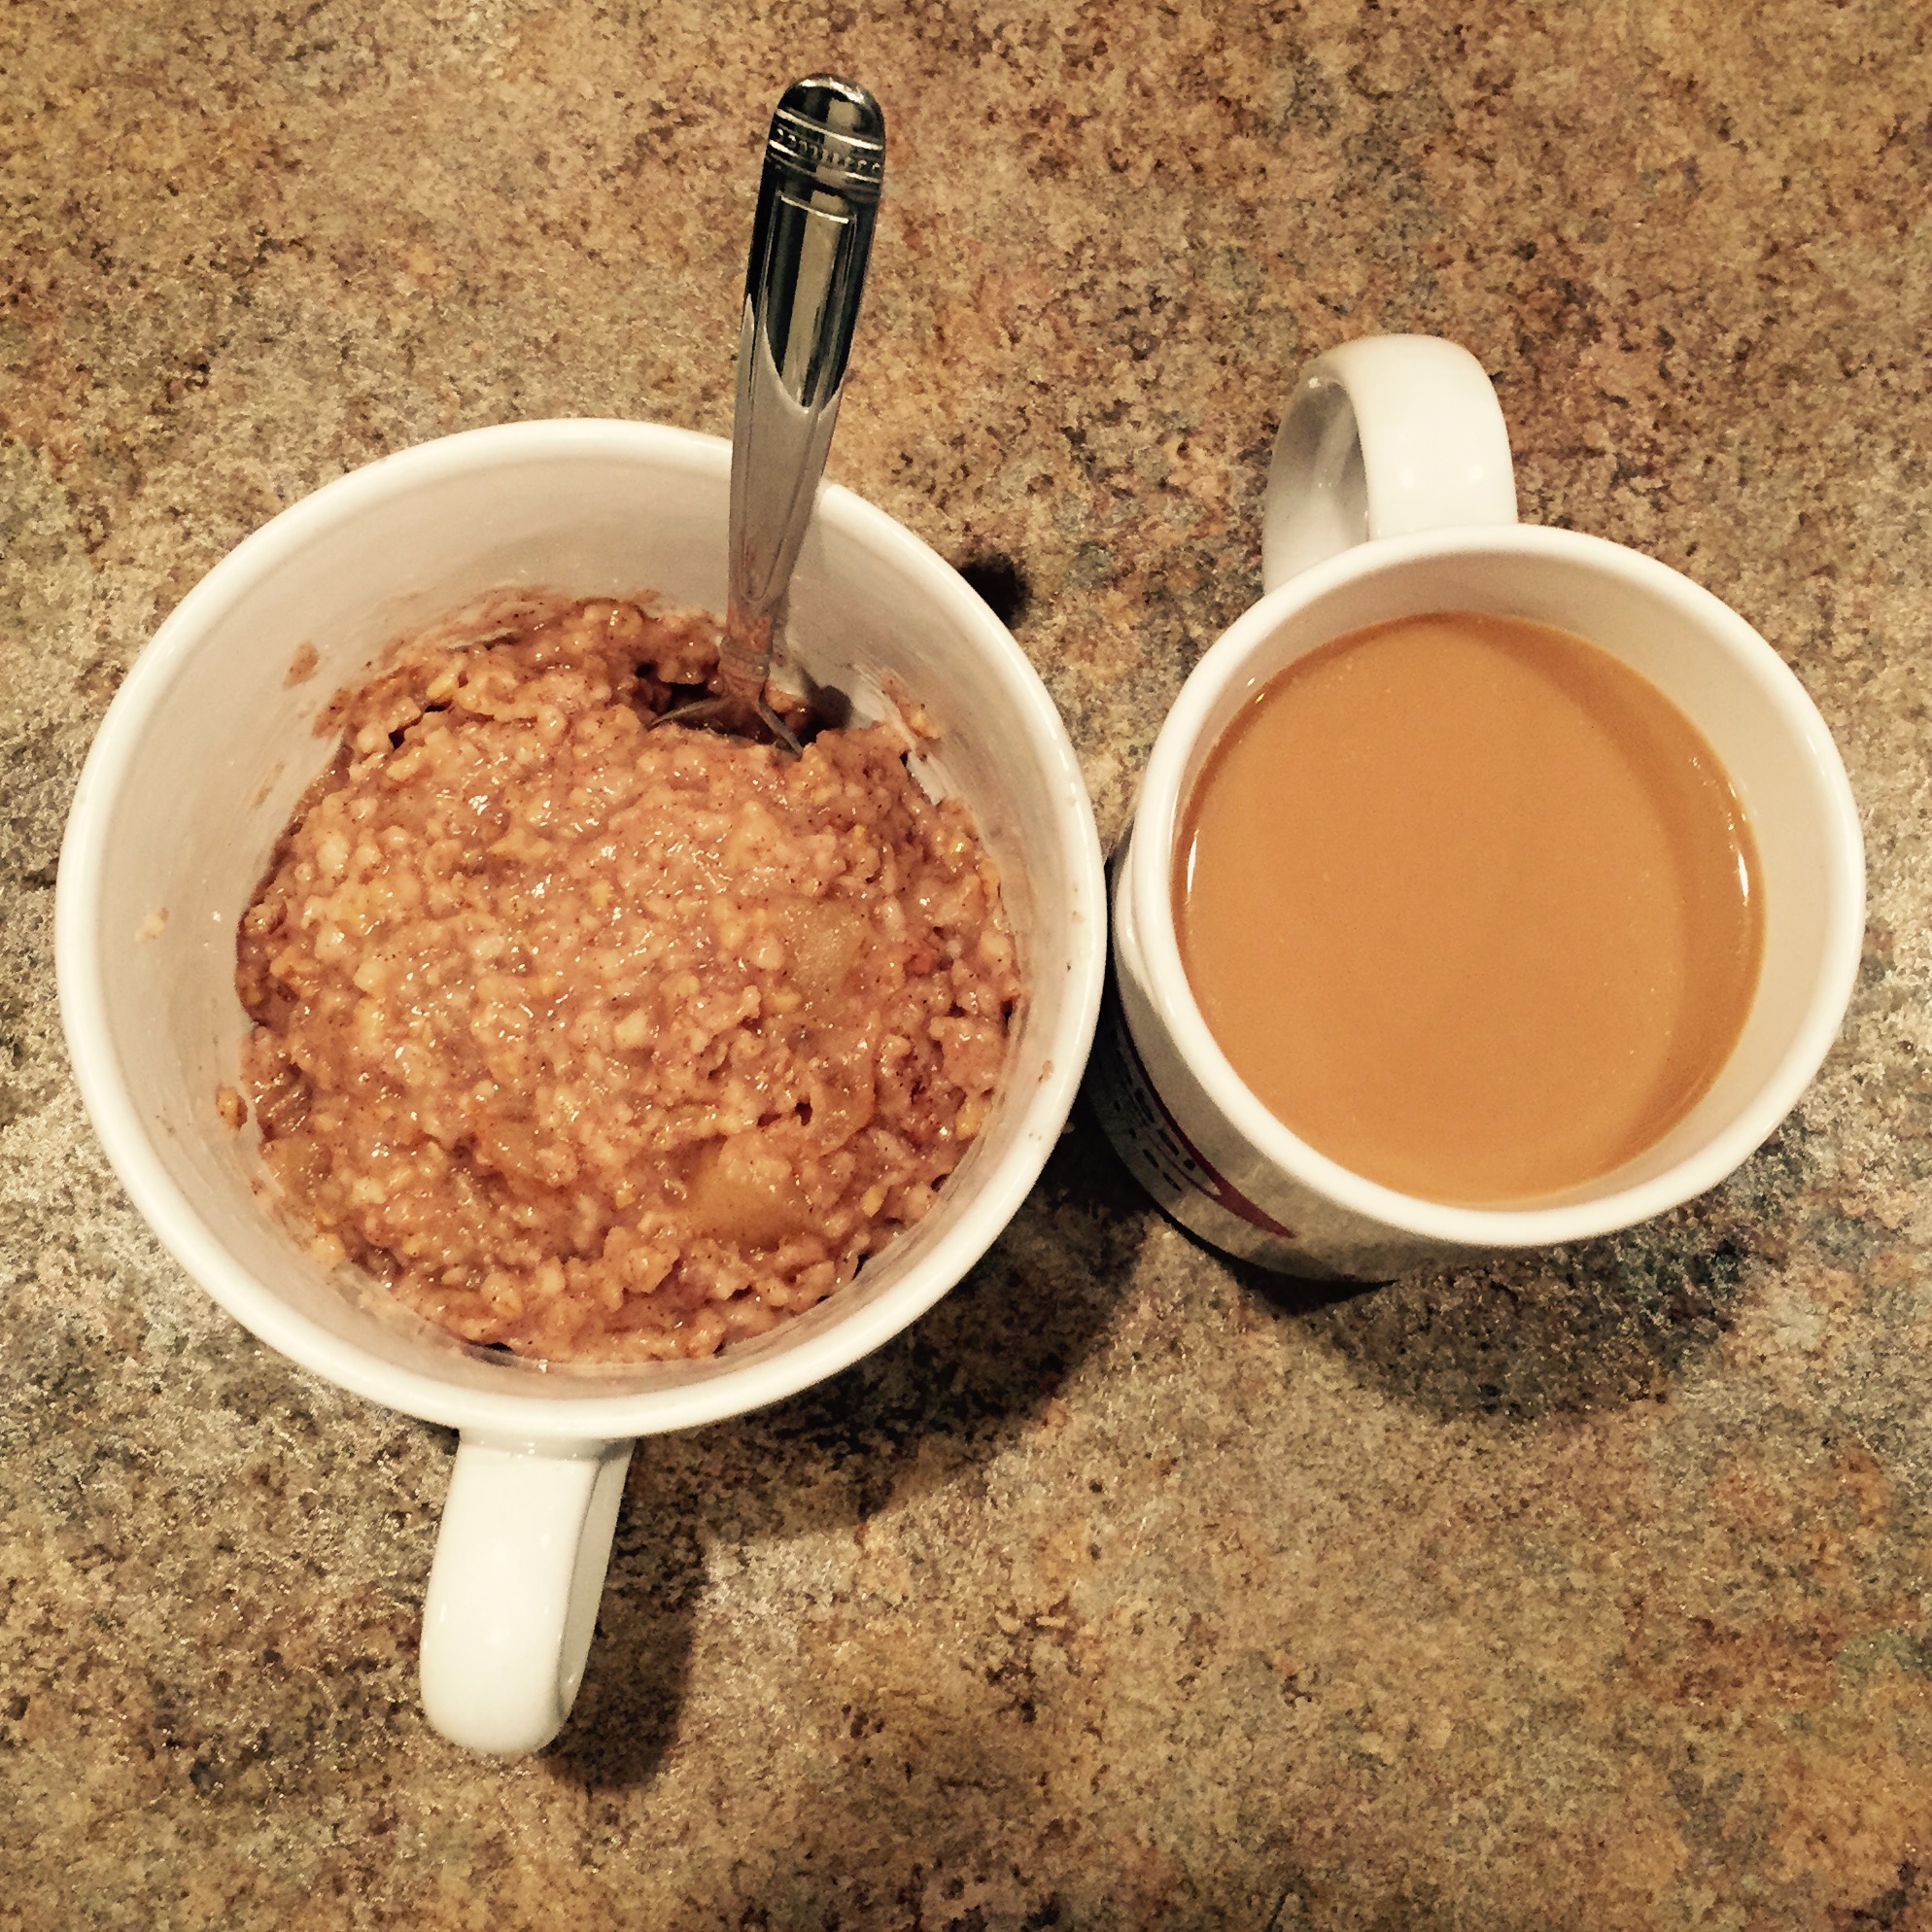
I double treated myself and ate my cookies with hot chocolate!
This super easy recipe can be changed to reflect all kinds of flavors, that’s the best part. The other great thing is that they don’t take very much effort at all because you kind of cheat with the cake mix. So next time you have a craving for something… just remember where there is a will, there is a way!